Codex CLI Integration Guide
Applicable roles: Developers, Admin Users, Member Users Last updated: 2026-08-06
Codex CLI connects to the platform via a custom Provider. The current configuration uses the Responses wire API. If your local version does not recognize this field, upgrade Codex first rather than switching to the deprecated chat mode.
Installation
npm install -g @openai/codex
codex --version
Configure a Custom Provider
First, have Codex read the key from an environment variable:
export CUSTOM_API_KEY="YOUR_API_KEY"Add the following to ~/.codex/config.toml:
model = "deepseek-v4-flash"
model_provider = "myplatform"

[model_providers.myplatform]
name = "Custom Platform"
base_url = "https://<your-api-endpoint>"
env_key = "CUSTOM_API_KEY"
wire_api = "responses"
Use the API endpoint shown on the console "API Key" page.
Replace model with the actual call name shown in the console. The configuration file can store the Provider and model, but do not write real keys directly into it and commit to a code repository.
Verify and Troubleshoot
Run the following in a test directory:
codex -m deepseek-v4-flashFirst, ask it a question that does not modify any files, then check the console usage records. If you get a 404, check whether the final path contains a duplicated /v1. If you see wire_api = chat is no longer supported, confirm the configuration is set to responses and upgrade Codex.
The VS Code extension installation entry is shown below. The marketplace page may change with version updates.
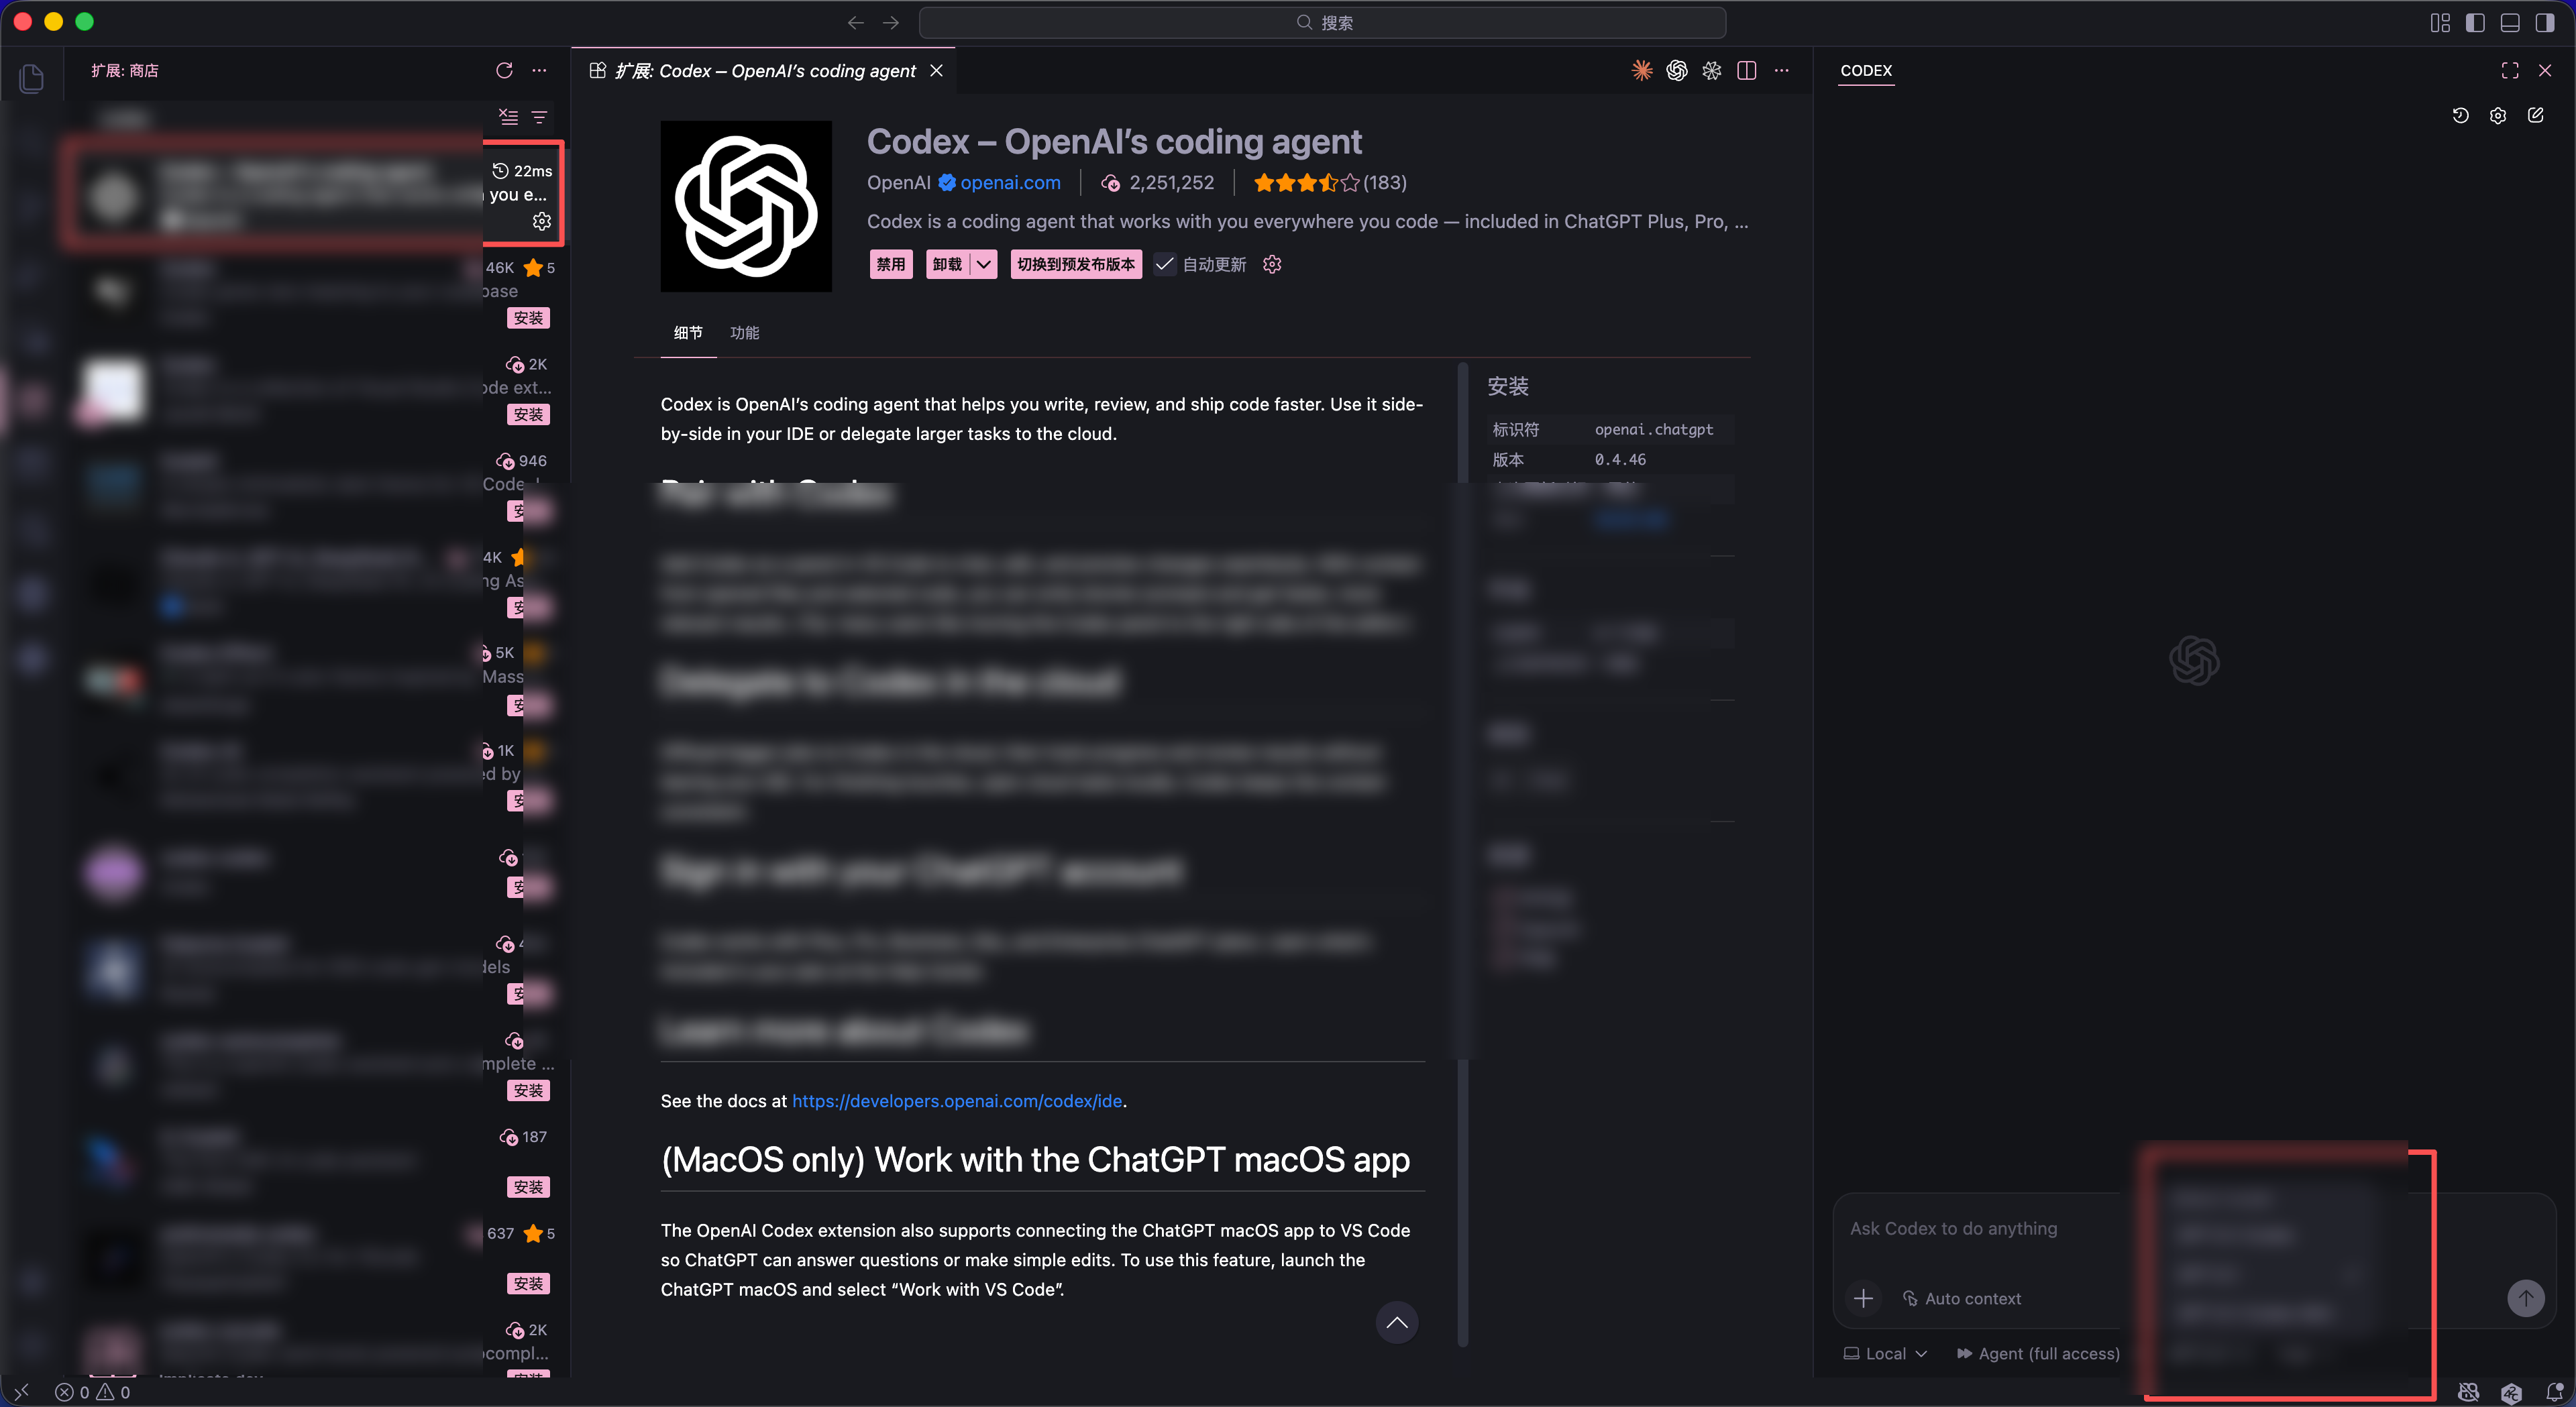
If the CLI is connected but the extension is not working, restart VS Code and confirm that the extension is using the Codex configuration from the same user directory.